

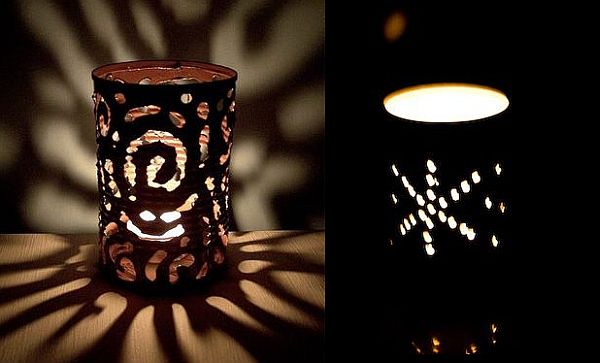
At times we never imagine that even the disposed and uselessly lying things or a piece of clutter can be used to create beautiful things. Do you know that you can utilize a disposed tin can to make wonderfully lit lanterns for your wedding? This will be a great DIY wedding idea for those who are planning to have a backyard wedding or any other outdoor themed wedding. You can create a magical ambiance with tin can lanterns all around the wedding reception area. Read further to learn more about this DIY.

Difficulty level: Moderately easy
Time required: 10 minutes (one can lantern)
Things needed:
· Hammer
· Nails
· Tin cans
· Candles
Procedure
Follow these simple steps to obtain your tin can lanterns:
1. Collect some tin cans of as many sizes and shapes you can avail. Wash these and then let them dry.
2. Fill the cans with water and freeze them.

3. Put a towel to the floor and place the tin can with the frozen ice onto it.

4. Start making holes of various patterns to the tin can.

5. You can also use a metal cutter to give shapes other than the holes.

6. Paint these cans if you feel like. Rather it is a good thing to do because in the daytime they will serve the purpose of being good wedding decorative items besides glowing with an attractive appeal at the nighttime.

7. Put a candle to the lower inner side of the tin can and then place them wherever you feel like in the wedding reception area.

Things to watch out for
· When nailing the tin cans, you must be cautious not to distort their shapes.
· Do not involve any kid into this DIY. Even if you get a cut then go for proper first aid. Though it is not that dangerous.
Via: weddingbee