

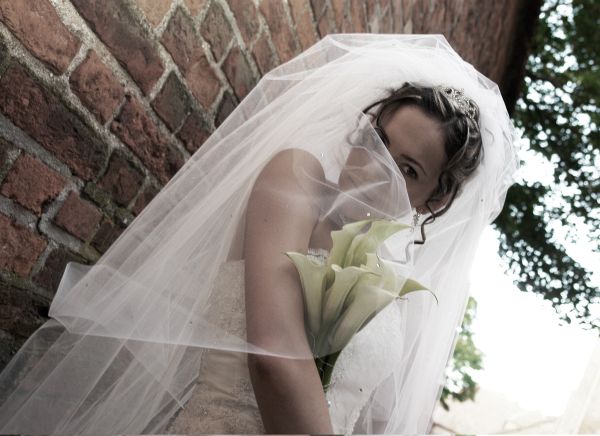
Wedding veils do require a good amount of expenditure; and to stick to a budget you must know how to make a bridal veil all by yourself. This is a fun activity and it brings you more close to the wedding preparations. Also, if you learn to DIY it once, then you can always have the time and the expertise of letting others know the process as well. So here we share with you the methodology of making a bridal veil. Sit back and read it all before you start with the actual procedure.

Difficulty level: Moderately easy
Time required: 2-3 hours
Things needed
To make a bridal veil, you have to have these things with you :
· A thread
· Tulle
· Needle
· Button thread
· Comb (Bridal comb)
· Low heat glue-gun
· Other embellishments
Procedure
Employ these steps one by one in your DIY of making a bridal veil:
1. First of all imagine in your mind that how you want your bridal veil to look like? To get an idea you can see some catalogue or check the designs online. Make a sketch if you prefer to do so. Take into considerations the fabrics and the embellishments. This is just like a warming up before you start off.
2. As per the height of the bridal veil that you have decided to go with; get the tulle measured to adequately suit to that need. Tulle is not that expensive and it looks great. Elbow-length veil needs up to 30 inches of the tulle fabric while on the other hand a fingertip veil will require not less than 38 inches of the same fabric.
3. In your third step, you will put down the tulle on some flat surface and put some paperweights to each of the corners.
4. Folding the tulle lengthwise in half, cut its bottom or the lower edges. Then round the edges from the bottom or for the scalloped edge you will have to make smaller width folds of the tulle.
5. Using whip stitches sew it over from the top edge. Employ some heavy thread as you will need some support to hold down the bridal comb.
6. Now attach the bridal comb to the top edge of the veil with help of a button thread.
7. In the last step you will have to attach all the embellishments (like pearls, appliqués, ribbons, flowers etc.) to the veil using some low heat glue gun
Things to watch out for
· Ensure that the surface you choose for lying down the tulle is dry and free of stains
· Check all the embellishments of their edges so that you do not have sharp edges destroying up whole of your veil
· After completing the veil you need to ensure that it is kept intact till the time you actually need to put it on.