

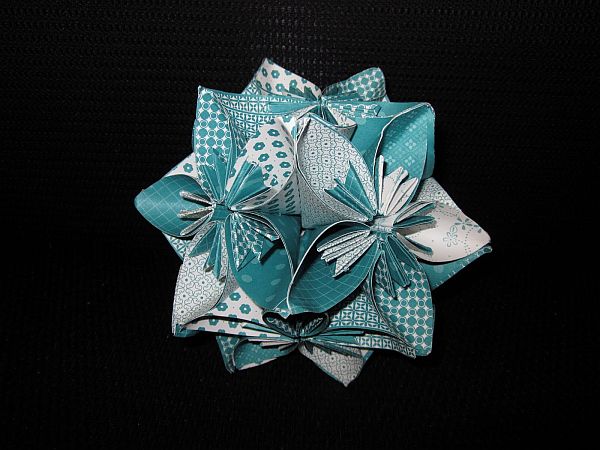
Those who love Origami art will love this DIY for the wedding centerpieces and will make few of these for their wedding. With minimum of the effort and just a little knowledge of the steps that have to be followed you can well make the Kusudama ball wedding centerpieces. You can even hang these balls at marked places of your wedding reception area and get all the appreciation from your wedding guests.

Difficulty level: Easy
Time required: 10-15 minutes (to make one Kusudama ball wedding centerpiece)
Things needed:
· Kusudama flowers (6 per centerpiece)
· Paper clips
· Glue
Procedure
1. It will be better if you get the readymade Kusudama flowers. You can check for any nearby Origami artist. But if you do not find one then buy them by placing an online order. You will be requiring 6 Kusudama flowers for a single centerpiece.

2. Now take one of the flowers and glue one of its petals from the middle part (like a line).

3. Take another flower and glue one of its petals to the previously glues Kusudama flower petal. Press and hold with the paper clip.

4. Start gluing other Kusudama flowers around the spaces that you find in the arrangement.

5. Every time you are done with the gluing part, do remember to hold the flowers in position with the help of clips.

6. Make few more Kusudama ball centerpieces just by repeating the similar steps.

7. Let the Kusudama ball dry. Once all dried with no traces of left out glue, preserve for the wedding day.

Things to watch out for
· Use little of the glue to ensure that the flowers do not join at wrong places.
· Get a box and place all Kusudama flower balls in it (take care that they are not pressed). Maintain their shape till the wedding day.
via: wikihow